Custom MCP (via proxy)
Connect your own MCP server that your team already runs. Webrix proxies it securely and applies your policies.
When to use this
- You have an internal MCP server you trust and control
- You need full flexibility while keeping centralized governance
Steps
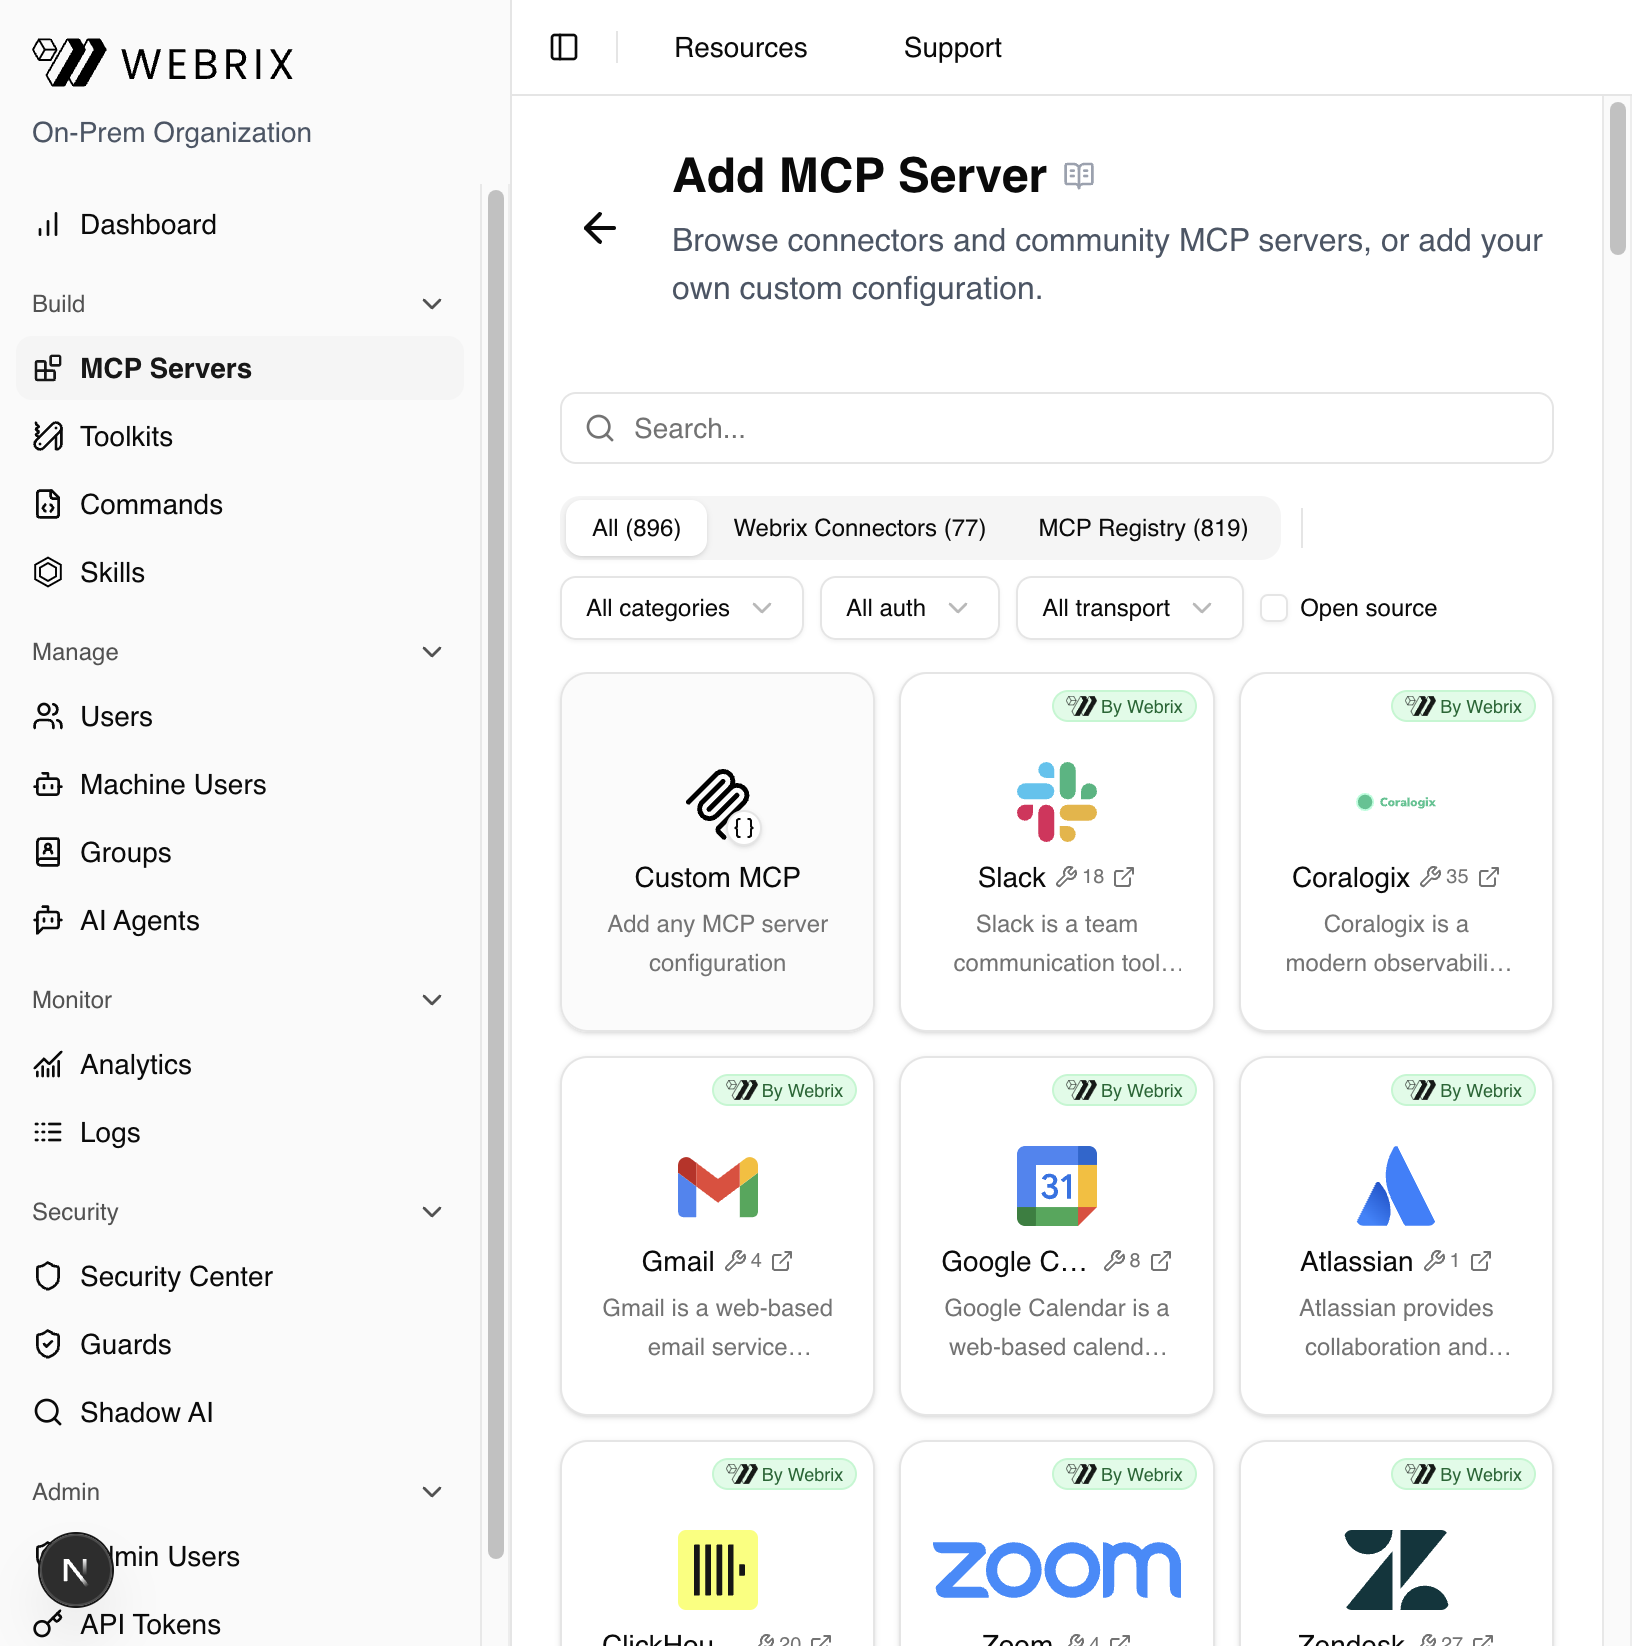
1. Go to MCP Servers and click "+ Add MCP Server"
In the sidebar, navigate to MCP Servers under the Build section, then click the + Add MCP Server button in the top right.
2. Choose "Custom MCP"
The Add MCP Server page opens, showing all available connectors. The Custom MCP card is the first card in the grid (no "By Webrix" badge). Hover over it and click Configure.
3. Fill in the configuration
The Create Custom MCP dialog opens. Enter the details for your MCP server:
- Name – a display name for this integration (e.g.
My Internal MCP) - Slug – a URL-friendly identifier (auto-generated from the name)
- JSON config – the MCP server configuration in JSON format
The default JSON config for an HTTP-based server looks like:
{
  "type": "http",
  "url": "https://mcpdomain.com/mcp"
}
For servers that require authentication, use {{placeholders}} in the JSON config — Webrix will automatically prompt users to fill in credentials at connection time:
{
  "type": "http",
  "url": "https://mcpdomain.com/mcp",
  "headers": {
    "Authorization": "Bearer {{apiKey}}"
  }
}
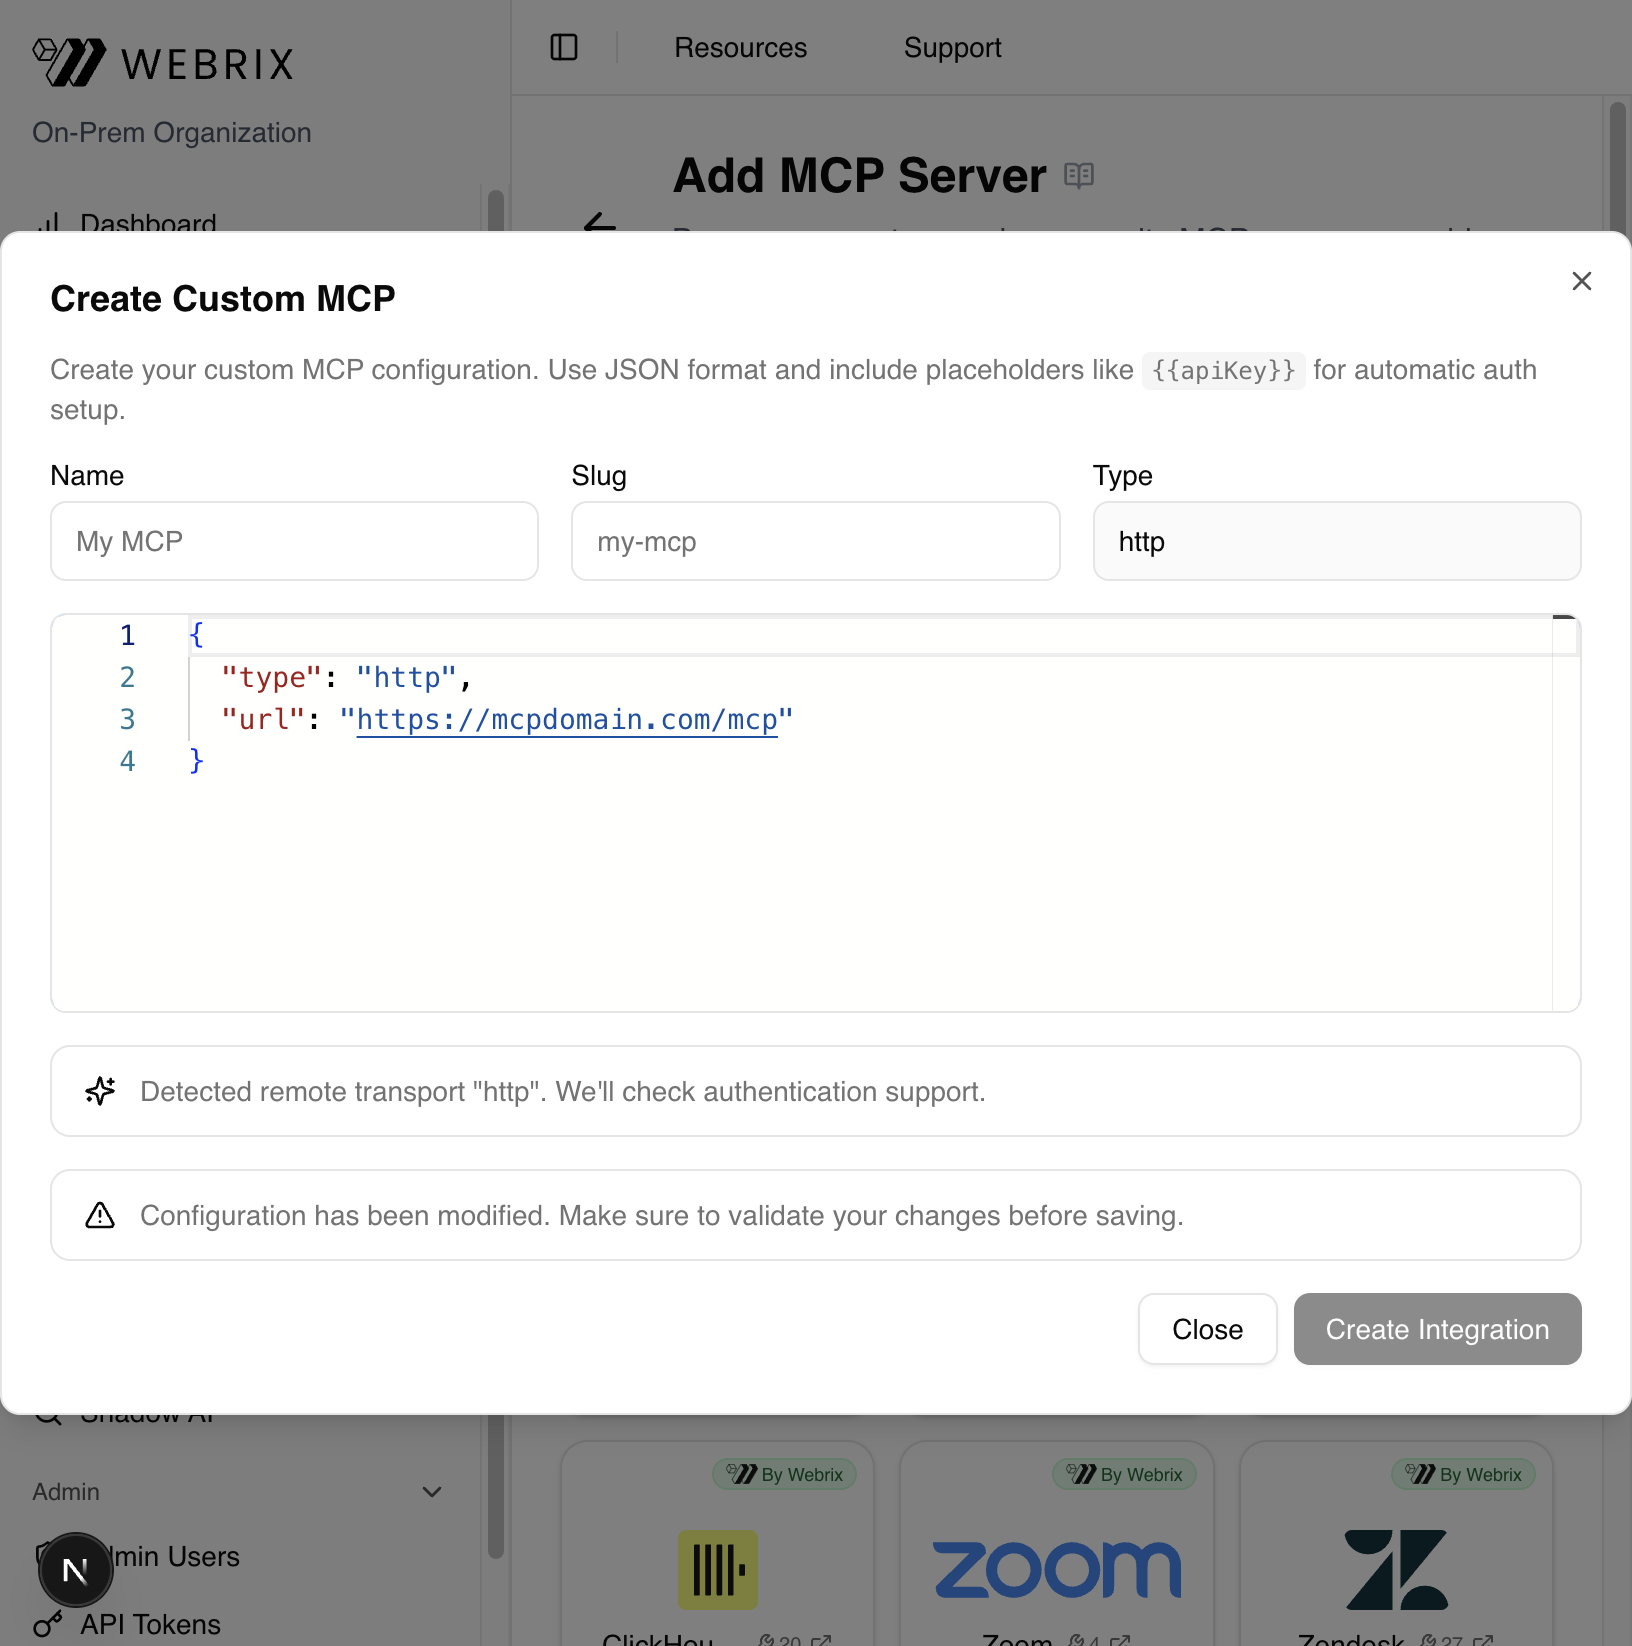
4. Click "Create Integration"
Once you've entered the configuration, click Create Integration. Webrix will:
- Create a draft integration
- Apply the configuration and set the slug
- Detect the transport type (e.g.
http) and check authentication support - Set up auth automatically where possible
The integration is now available in your MCP Servers list.
Notes
- Secrets and tokens stay within Webrix's secure handling and are covered by audit logs.
- Use
{{placeholder}}syntax in JSON for any credentials users need to supply (API keys, tokens, etc.). - Webrix detects the transport type from the JSON
typefield (http,stdio, etc.).